Those of you who joined in on my live bake along on Saturday will have already seen this deliciousness! This is the perfect occasion cake, even if that occasion is just Saturday and you want some delicious cake! Red velvet cake has such a luxurious feel to it. Here is exactly how to make it.
CAKE INGREDIENTS
225ml vegetable oil
375g plain flour
1.5 tbsp cocoa powder
3tsp baking powder
1.5tsp bicarb of soda
420g light brown sugar
pinch of salt
400ml buttermilk (can also use plain yoghurt)
2tsp vanilla extract
Red food colouring or paste
3 free range eggs
FROSTING INGREDIENTS
250g salted butter (at room temperature)
750g icing sugar
350g full fat cream cheese
1tsp vanilla extract
You will also need 2 deep 20cm round cake tins
TO MAKE THE CAKE
- Preheat your oven to 180c and grease your cake pans
- Sift all the dry ingredients together and mix to combine. mix in your sugars.
- combine all your wet ingredients (buttermilk, egg, oil, vanilla, red colouring) mix well.
- Now add in all your dry ingredients to your wet and mix until smooth and combined. add more colouring if desired.
- Divide your batter between your cake pans and bake for 20-25 minutes or until a knife comes out clean
- Rest for 10 minutes and then take out of the pans to cool
TO MAKE THE FROSTING
- While your cake cools, lets make the frosting! Add your cream cheese and beat until smooth
- Then, add your butter and vanilla and beat until combined
- Finally add in your icing sugar and mix until all smooth with no lumps, you might need to scrape down the bowl a few times
TO DECORATE
- Once your cakes are cool, gently slice across the top of one of the layers to make it nice and flat, save the part you have cut off! This will be used to decorate later.
- Next, add a layer of cream cheese on top of the cake you have made level and add the other layer on top
- Then, using a pallet knife, cover the rest of the cake, top and sides, in the frosting
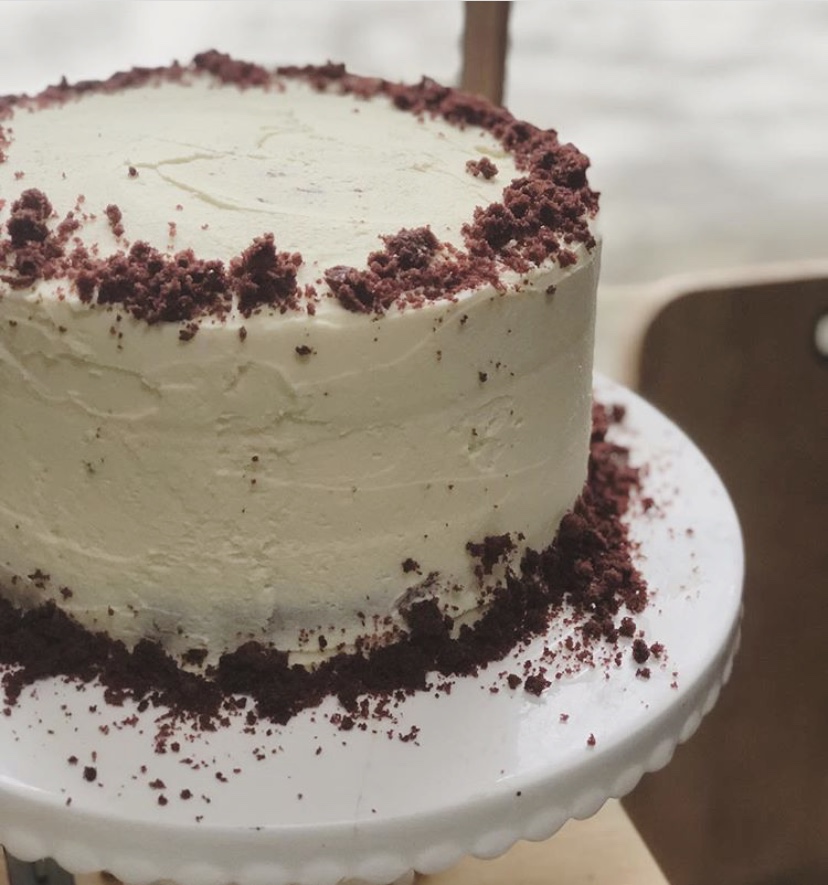
- Take the cuts of cake and break apart to make a crumb texture, use this to decorate along the base and top edge of the cake
- You are done! Stand back and marvel at your creation before cutting yourself a nice big slice!
If any of you make this recipe please don't forget to share with #bakingwithalana, I love seeing your pictures!