Some of you might know that I started my business when I was in school at the age of 16. My mum bought me a book on making your own chocolates and I was sold! What better job than a chocolatier! Until I discovered a love for cakes too of course... Following a recent rush of nostalgia before attending my recent Ambassador Training Day, I decided to get out my trusted chocolate moulds and show them all where I started and where the foundations of Ridiculously Rich by Alana were first formed, and of course I just had to share with you too!
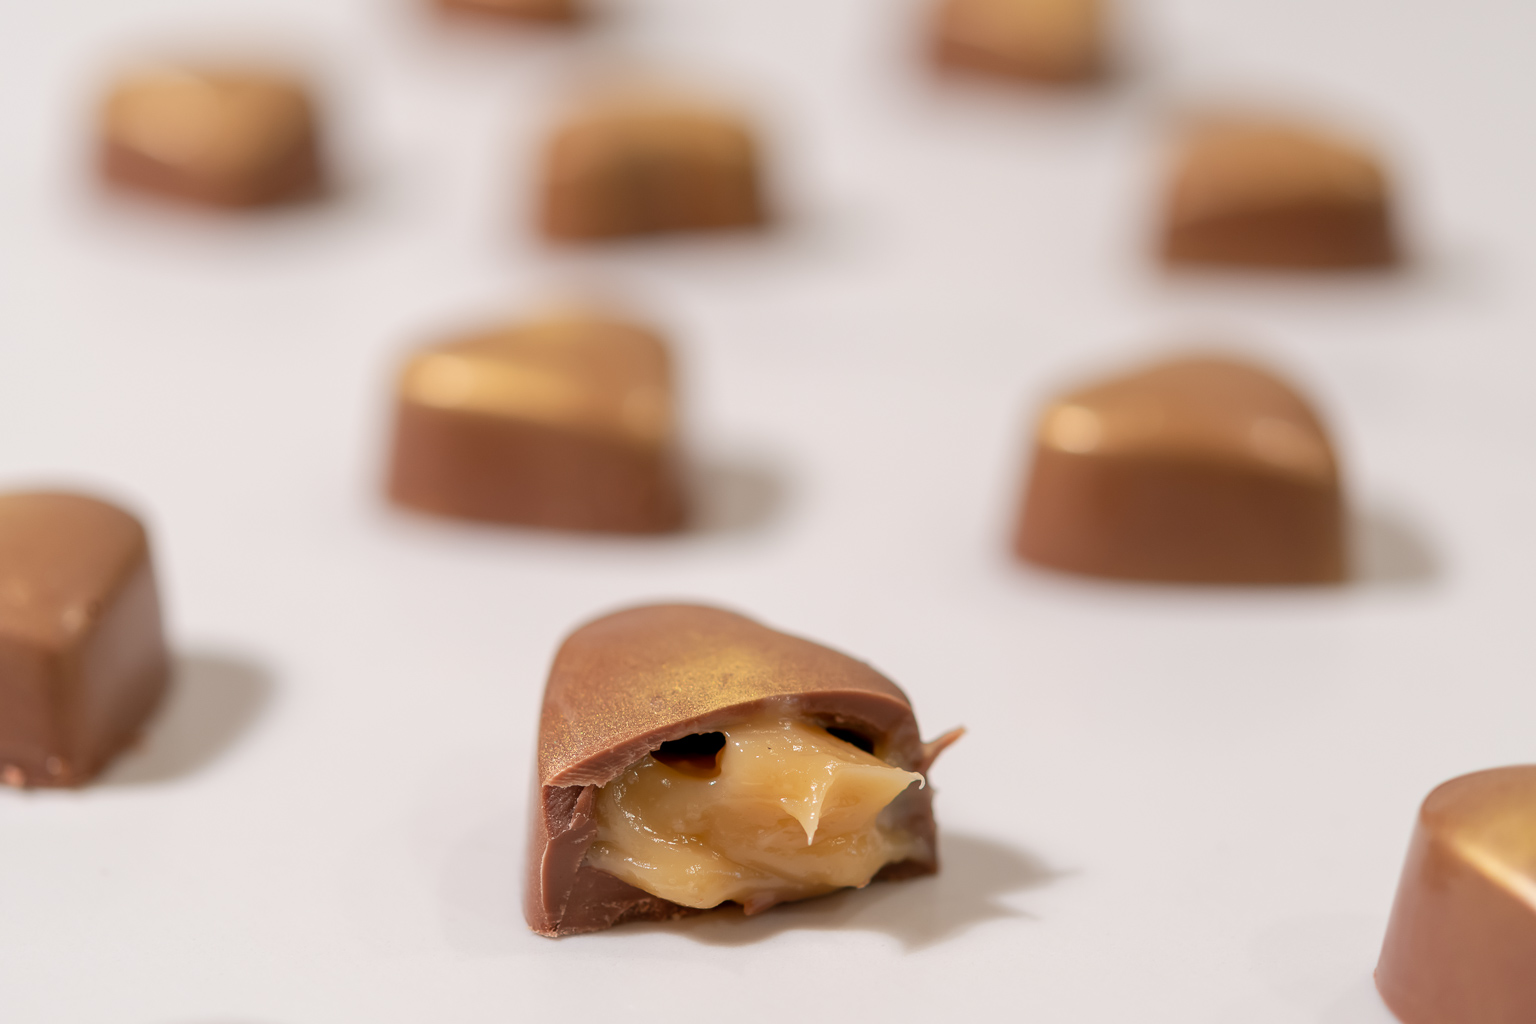
This recipe is for my Malted Daim Chocolates was a firm favourite of farmers marked regulars and of course my family!
INGREDIENTS
500g Milk Chocolate (I use Callebaut but any good quality milk chocolate will work well)
330g White Chocolate
1tbsp Malted Syrup (I use Meridian Barley Malt Extract)
250ml Cream
3 Daim Bars
Edible Gold Spray Glitter
A Pinch of Salt
METHOD
1. Combine cream with the malted syrup and bring to the boil on a hob.
2. Pour your cream and syrup mix over the white chocolate and leave for 1 minute to melt.
3. Mix well until all white chocolate is melted and well combined.
4. Set your filling in the fridge for 30 minutes.
5. Smash up your Daim Bars into shards that are small enough fit inside your chocolates.
6. Temper chocolate in the microwave. I have always used the microwave method, I find it super convenient and easy compared to other methods click here to see how it's done.
7. Decorate your chocolate moulds with edible glitter or paint them with the colour of your choice.
8. Fill moulds with your tempered chocolate and tip any excess chocolate back into your tempered batch.
9. Leave to set in the fridge. If well tempered you should see that some of them coming away from the mould slightly as they contract during cooling.
10. Put dollops of filling in, leaving enough space for your Daim shards and the chocolate base.
11. Leave filled chocolates to firm up in the fridge.
12. Re-temper and spread chocolate on the bottom of the chocolates forming a flush, completely sealed base.
13. Refrigerate and leave to set in the fridge.
14. Pop your chocolates out onto a worktop by tipping your mould upside down and gently but firmly tapping the mould on the top and VOILA! Handmade delicious chocolates!
I promise you will love these, they are one of my favourites, just be prepared to want to eat the whole batch! If any of you make this recipe please don't forget to share with #bakingwithalana, I love seeing your pictures!